Most developers stop at hosting a site.
But SaaS isn’t about hosting, it’s about operating a product.
That means logins, billing, observability, CI/CD pipelines, and a stack that doesn’t crumble the moment you leave localhost.
The good news? You don’t need a $10k AWS bill or a 10-person SRE team to get there. This guide shows the roadmap from a Docker MVP to a production-ready Kubernetes setup with GitOps, monitoring, and security.
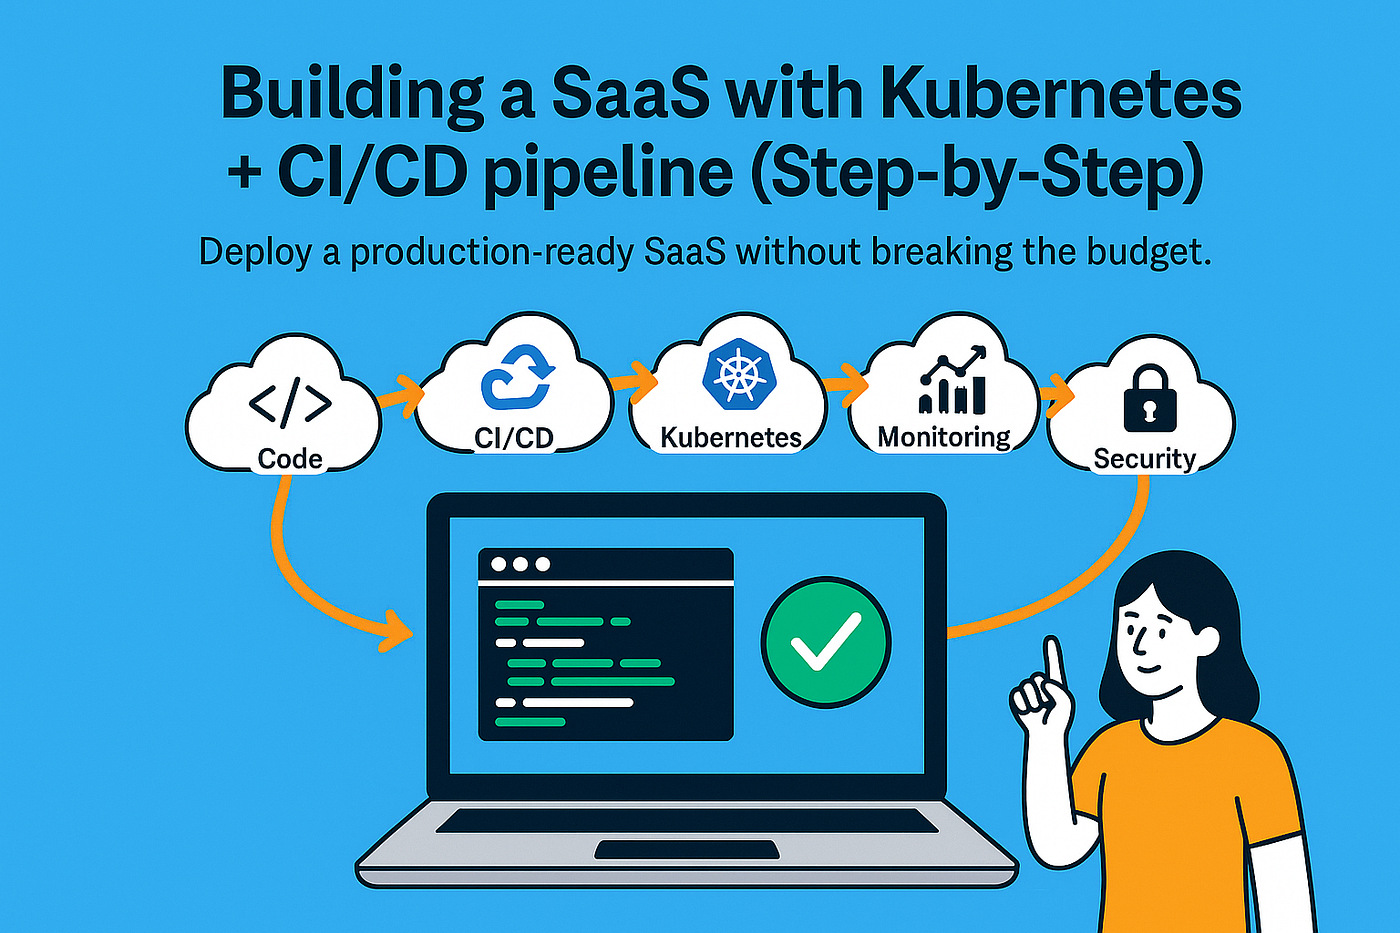
By the end, you’ll have a complete MVP-to-SaaS pipeline:
Code → CI/CD → GitOps → Kubernetes → Monitoring → Security
I’ve always been curious how real teams keep dev, staging, and prod in sync without breaking things.
My first MVP? Everything lived together: one Deployment, one Namespace, one Cluster. It worked… but it didn’t feel professional.
In production, you can’t afford that. You need separation:
- Development for fast iteration and experiments
- Staging as a safe dress rehearsal
- Production as the customer-facing, no-surprises zone
Part 1 — Just Make It Work (Dockerfile + Docker Compose)
When you’re starting out, the goal isn’t to make it bulletproof. No clusters, no automation, just proof that your app builds and serves correctly.
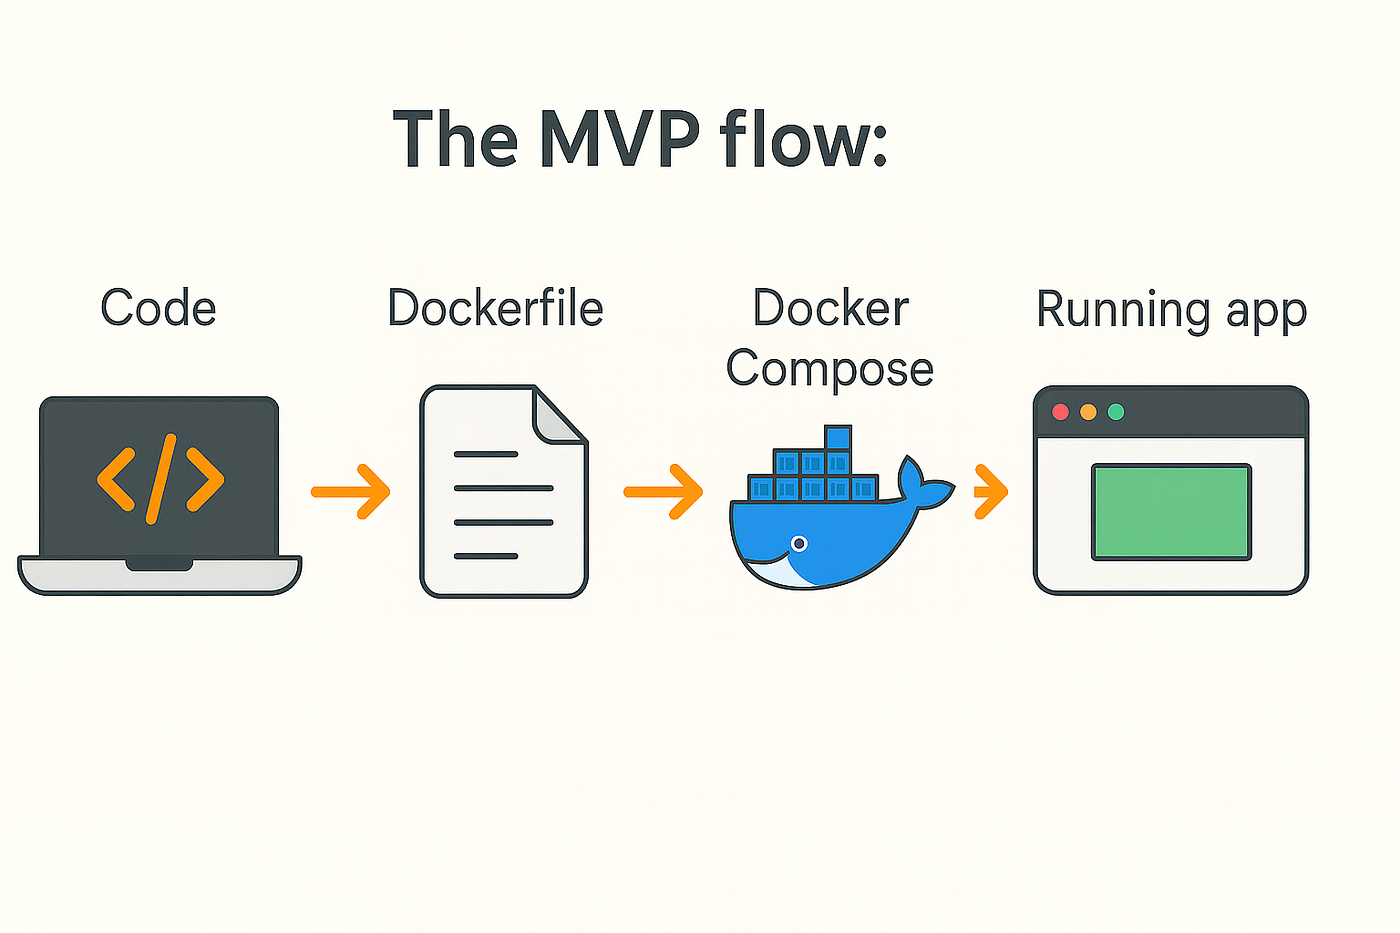
The MVP flow:
Code → Dockerfile → Docker Compose → Running app.
If you stopped here, you’d already have something that looks impressive. But I knew this was just step one.
Step 1: Build It the Right Way (Multi-Stage Dockerfile)
# Stage 1 – Build
FROM node:18-alpine AS builder
WORKDIR /app
COPY package*.json ./
RUN npm ci --silent --prefer-offline --no-audit
COPY . .
RUN npm run build:prod

# Stage 2 – Serve
FROM nginx:1.25-alpine AS runtime
COPY --from=builder /app/dist /usr/share/nginx/html
COPY nginx.conf /etc/nginx/nginx.conf
RUN echo "ok" > /usr/share/nginx/html/health

USER nginx
EXPOSE 8080
HEALTHCHECK CMD wget -qO- http://localhost:8080/health || exit 1
CMD ["nginx","-g","daemon off;"]
Why this setup works:
- Multi-stage build keeps the runtime image small and secure (no Node in prod).
- Nginx runtime is optimized for serving static assets, faster, safer, and more battle-tested than running Node in production.
- Non-root user adds a layer of security, and the healthcheck ensures Kubernetes and Docker know when the container is healthy.
Why Nginx and not Node?
Node’s dev server (
npm run start) is great locally, not for scale. The common pattern is: Node builds it → Nginx serves it.
Step 2: Package It With Docker Compose
Once the image builds, I want a quick way to test it. That’s where Docker Compose comes in:
version: '3.8'
services:
  saas-frontend:
    build:
      context: .
      dockerfile: Dockerfile
      target: runtime
    ports: ["8080:8080"]
    healthcheck:
      test: ["CMD","curl","-fsS","http://localhost:8080/health"]
      interval: 30s
      retries: 3
One command (docker compose up) and you can verify the build works.
Visit http://localhost:8080/health → see ok → you’re done.
You’ve got a working container.
✅ MVP recap:
- ✅ Multi-stage Dockerfile
- ✅ Local test with Compose
- ✅ Clean, minimal image ready for deployment
Part 2 — From Local to Cluster (Kubernetes + Kustomize)
Docker proves it works.
Kubernetes makes it reliable and repeatable.
This step turns your single container into a self-healing, multi-environment app.
Step 1: Core Kubernetes Manifests
Your app needs three building blocks:
- Deployment → defines how pods run
- Service → gives them a stable internal endpoint
- Ingress → exposes them to the world through Traefik
Deployment:
apiVersion: apps/v1
kind: Deployment
metadata:
  name: saas-frontend
  namespace: saas-dev
spec:
  replicas: 1
  selector:
    matchLabels:
      app: saas-frontend
  template:
    metadata:
      labels:
        app: saas-frontend
    spec:
      containers:
      - name: frontend
        image: ghcr.io/pablodelarco/saas-project:sha-xxx
        ports:
        - containerPort: 8080
Service:
apiVersion: v1
kind: Service
metadata:
  name: saas-frontend-svc
  namespace: saas-dev
spec:
  type: ClusterIP
  ports:
    - port: 80
      targetPort: 8080
  selector:
    app: saas-frontend
Ingress:
apiVersion: networking.k8s.io/v1
kind: Ingress
metadata:
  name: saas-ingress
  namespace: saas-dev
  annotations:
    traefik.ingress.kubernetes.io/router.entrypoints: web
spec:
  ingressClassName: traefik
  rules:
  - host: saas-project.com
    http:
      paths:
      - path: /
        pathType: Prefix
        backend:
          service:
            name: saas-frontend-svc
            port:
              number: 80
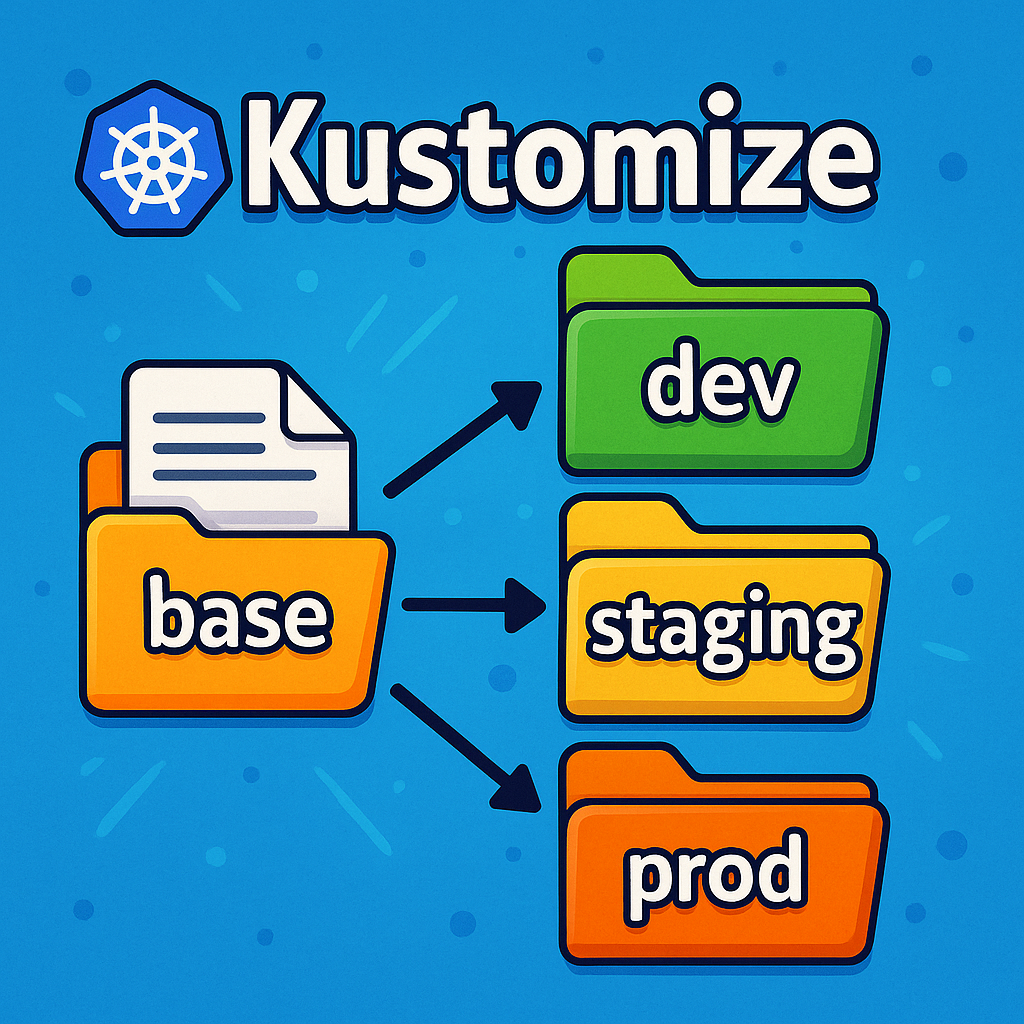
Step 2: Organize with Kustomize (start with 1 env, grow to 3)
When you’re moving from MVP to “real,” don’t over-engineer day one.
Start with one environment (call it production for now), prove your deploy loop, then split into dev / staging / production once you need safety nets.
Phase A: Start simple (one environment)
k8s/
├── base/
│   ├── deployment.yaml
│   ├── service.yaml
│   ├── ingress.yaml
│   └── kustomization.yaml
└── environments/
    └── production/
        ├── kustomization.yaml
        └── replica-patch.yaml
Base (shared config):
# k8s/base/kustomization.yaml
apiVersion: kustomize.config.k8s.io/v1beta1
kind: Kustomization
resources:
  - deployment.yaml
  - service.yaml
  - ingress.yaml
Production overlay (the only env at first):
# k8s/env/prod/kustomization.yaml
apiVersion: kustomize.config.k8s.io/v1beta1
kind: Kustomization
resources:
  - ../../base
patchesStrategicMerge:
  - replica-patch.yaml
images:
  - name: ghcr.io/pablodelarco/saas-frontend
    newDigest: sha256:REPLACED_BY_CI
# k8s/environments/production/replica-patch.yaml
apiVersion: apps/v1
kind: Deployment
metadata:
  name: saas-frontend
spec:
  replicas: 1
Phase B: Scale safely (add dev & staging)
When you need safer promotion and testing, add dev and staging overlays by copying the production one and changing only what’s different (replicas, hostnames, etc.):
k8s/
├── base/
│   ├── deployment.yaml
│   ├── service.yaml
│   ├── ingress.yaml
│   └── kustomization.yaml
└── environments/
    ├── dev/                   # Nº replicas: 1
    │   ├── kustomization.yaml
    │   └── replica-patch.yaml
    ├── staging/               # Nº replicas: 2
    │   ├── kustomization.yaml
    │   └── replica-patch.yaml
    └── production/            # Nº replicas: 3
        ├── kustomization.yaml
        ├── replica-patch.yaml
        └── hpa.yaml
All overlays point to the same base. CI updates the digest in dev; you promote the same digest to staging and production via PRs.
No rebuilds. No config drift.
💡 Helm or Kustomize?
Use Helm for third-party stacks (Prometheus, cert-manager, Postgres).
Use Kustomize for your app (clean patches, zero templating).
ArgoCD handles both.
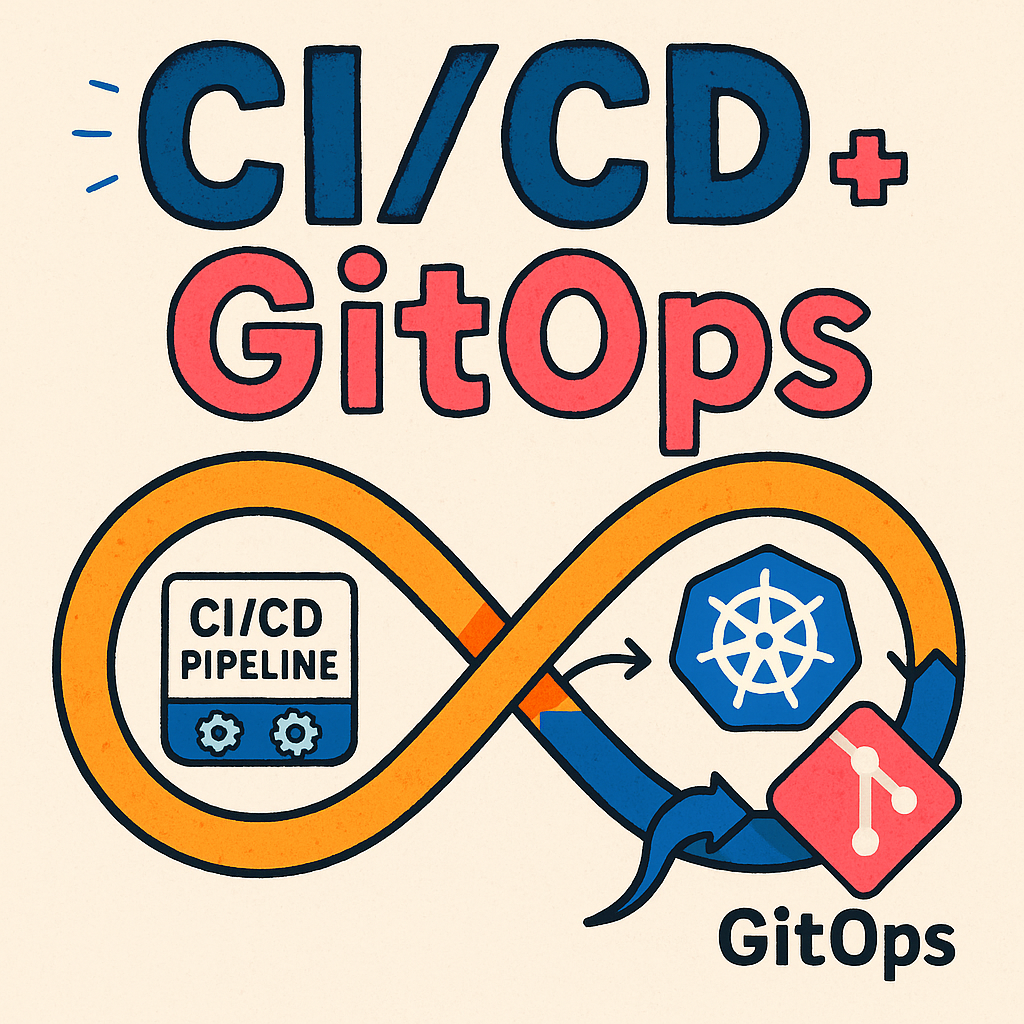
Part 3 — CI/CD + GitOps (Automate the Loop)
At first, kubectl apply works. Then it doesn’t.
Deploys get risky, versions go missing, and “what’s running where?” becomes a daily mystery.
Time to automate.
We keep the Dockerfile and Kustomize structure.
We replace manual deploys with CI/CD pipelines and GitOps.
- CI (GitHub Actions): builds, scans, signs, and pushes the image; then updates the env overlay with the image digest.
- CD (ArgoCD): watches Git and reconciles the cluster to match; deploys, prunes, and self-heals automatically.
The result? A fully automated deployment pipeline:
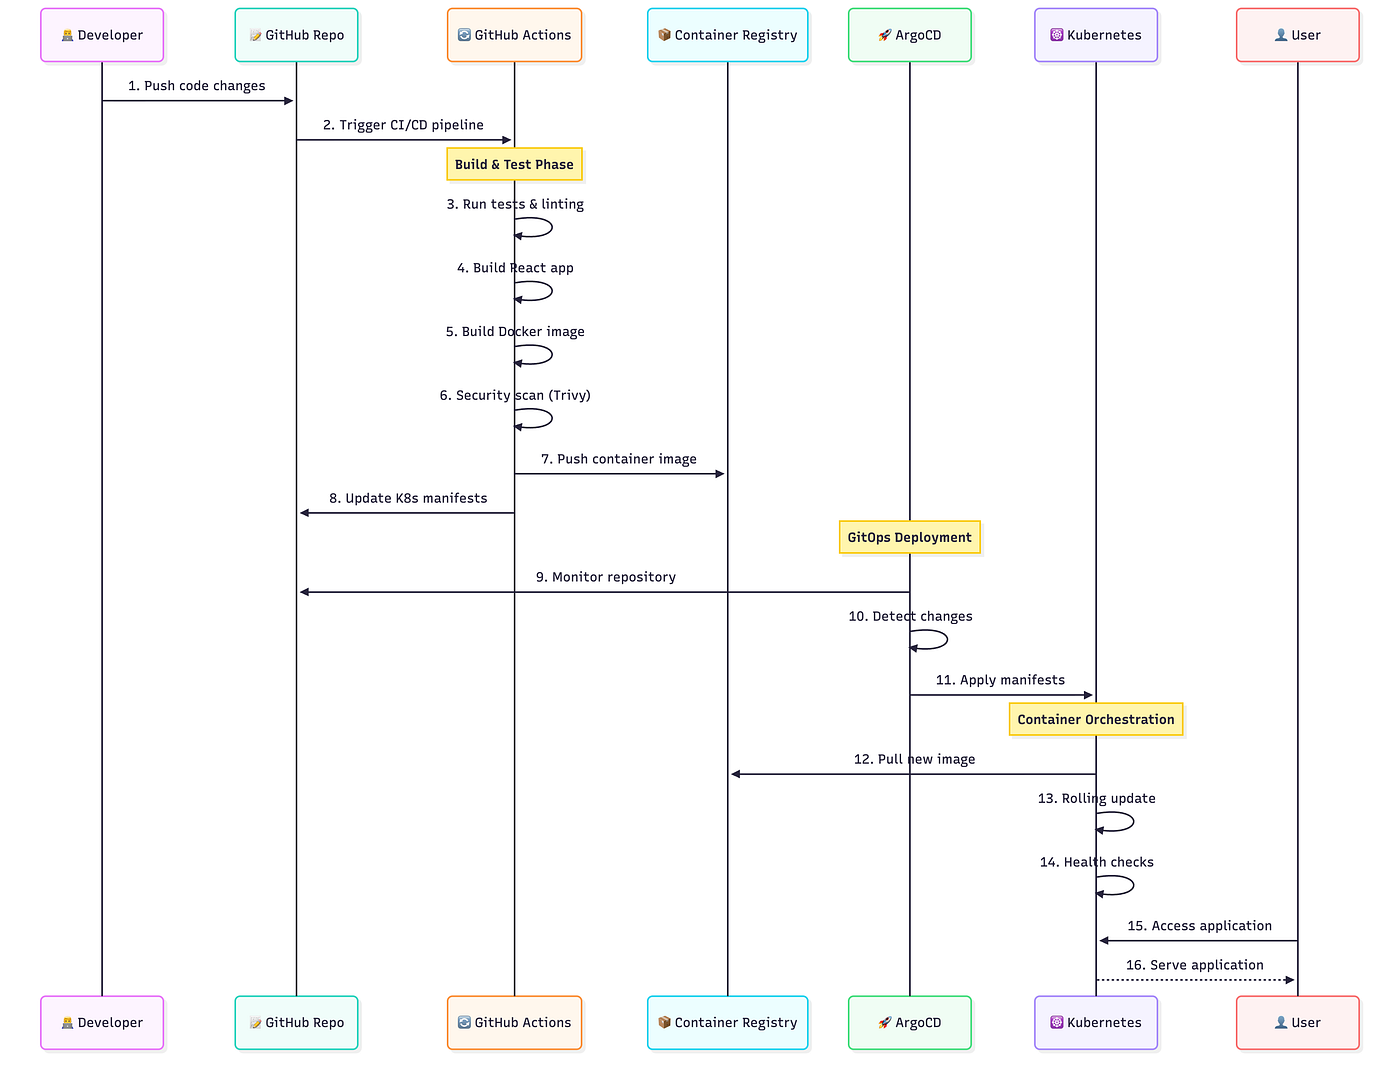
Deployment Flow
Step 1: GitHub Actions (CI)
Every push builds an immutable image, resolves its digest, and updates the dev overlay. Promotion to staging/prod is a PR that bumps the same digest, no rebuilds.
name: CI/CD (Minimal)

on:
  push:
    branches: [main]

permissions:
  contents: write
  packages: write

env:
  REGISTRY: ghcr.io
  IMAGE_NAME: saas-frontend

jobs:
  build-push-update:
    runs-on: ubuntu-latest
    steps:
      - uses: actions/checkout@v4
        with: { fetch-depth: 0 }

      - uses: actions/setup-node@v4
        with: { node-version: '18' }

      - run: |
          npm ci
          npm run build:prod

      - name: Log in to GHCR
        uses: docker/login-action@v3
        with:
          registry: ${{ env.REGISTRY }}
          username: ${{ github.actor }}
          password: ${{ secrets.GITHUB_TOKEN }}

      - name: Build & Push (immutable tag)
        uses: docker/build-push-action@v5
        with:
          context: .
          push: true
          tags: ${{ env.REGISTRY }}/${{ github.repository_owner }}/${{ env.IMAGE_NAME }}:${{ github.sha }}

      - name: Resolve image digest
        id: digest
        run: |
          DIGEST=$(docker buildx imagetools inspect $REGISTRY/${{ github.repository_owner }}/${{ env.IMAGE_NAME }}:${{ github.sha }} | grep -m1 "Digest:" | awk '{print $2}')
          echo "digest=$DIGEST" >> $GITHUB_OUTPUT

      - name: Update Kustomize overlay (dev)
        run: |
          git clone https://github.com/<you>/env-config.git
          cd env-config/k8s/environments/dev
          yq -i '.images[0].newDigest = "'${{ steps.digest.outputs.digest }}'"' kustomization.yaml
          git config user.email "action@github.com"
          git config user.name "GitHub Action"
          git checkout -b bump-${{ steps.digest.outputs.digest }}
          git add kustomization.yaml
          git commit -m "chore: promote digest to dev: ${{ steps.digest.outputs.digest }} [skip ci]"
          git push origin HEAD
          # optionally open a PR with gh cli if available
What this gives you:
- Every commit = new immutable image.
- Overlays updated by digest (safer than tags).
- No manual builds, no guessing which image is live.
Step 2: Continuous Delivery (CD) with ArgoCD (GitOps)
Once your CI updates Git, ArgoCD takes over.
It continuously compares what’s in Git to what’s in the cluster, and syncs them automatically.
We keep one ArgoCD Application per environment so each env has its own lifecycle, guardrails, and blast-radius.
- dev: auto-sync, auto-prune, self-heal (fast feedback)
- staging: auto-sync but gated by PR checks
- production: manual sync (or progressive delivery controller), change windows, strict RBAC
├── argo-apps/
│   ├── app-dev.yaml
│   ├── app-staging.yaml
│   └── app-prod.yaml
Example (dev):
# argocd/app_prod.yaml

apiVersion: argoproj.io/v1alpha1
kind: Application
metadata:
  name: saas-project
  namespace: argocd
spec:
  project: default
  source:
    repoURL: https://github.com/xxxxx/xxxxxx
    targetRevision: main
    path: k8s/env/dev
  destination:
    server: https://kubernetes.default.svc
    namespace: saas_namespace
  syncPolicy:
    automated:
      prune: true
      selfHeal: true
Dev and staging apps are identical, but point to k8s/environments/dev and k8s/environments/staging, and live in their own Argo Projects with tailored RBAC/sync policies.
If you don’t have ArgoCD installed, you can check my previous post where I cover the installation process step by step.
The Flow:
- CI updates the digest in environments/dev
- ArgoCD’s dev Application auto-syncs and deploys
- You open a PR to bump the same digest in staging → merge → auto-sync
- You promote to production → manual approval (or progressive rollout)
Each environment is isolated, self-healing, and fully traceable.
Git is the source of truth. ArgoCD keeps it alive.
✅ Automation recap
- Git-driven deploys, zero
kubectl apply - Per-env Argo apps with distinct policies and RBAC
- Drift detection, auto-prune, and instant rollback (revert the PR)
Part 4 — Production Hardening (TLS 🔒, Monitoring 📊, Secrets 🧩, and High Availability ⚙️)
You’ve got automation — now make it trustworthy.
Commits flow from GitHub → GHCR → ArgoCD → cluster.
Everything’s automated.
But automation alone doesn’t make a system production-grade.
Production is where the quiet parts matter: encryption, observability, resilience, and the ability to recover when things go sideways.
Let’s harden your SaaS.
🔒 Step 1: SSL/TLS with cert-manager + Let’s Encrypt
When your app first goes live, it’s probably served over plain HTTP. That’s fine for testing, but in production, that’s not even an option.
Users expect that little padlock. Browsers demand HTTPS. And you definitely don’t want to renew certificates manually.
The fix: cert-manager + Let’s Encrypt:
Deploy cert-manager via ArgoCD:
# argocd/apps/cert-manager.yaml
apiVersion: argoproj.io/v1alpha1
kind: Application
metadata:
  name: cert-manager
  namespace: argocd
spec:
  project: default
  source:
    repoURL: https://charts.jetstack.io
    chart: cert-manager
    targetRevision: v1.15.0
    helm:
      values: |
        installCRDs: true
  destination:
    server: https://kubernetes.default.svc
    namespace: cert-manager
  syncPolicy:
    automated: {}
Create a ClusterIssuer:
# k8s/infra/cluster-issuer.yaml
apiVersion: cert-manager.io/v1
kind: ClusterIssuer
metadata:
  name: letsencrypt-prod
spec:
  acme:
    server: https://acme-v02.api.letsencrypt.org/directory
    email: admin@saas-project.com
    privateKeySecretRef:
      name: letsencrypt-prod
    solvers:
    - http01:
        ingress:
          class: traefik
Patch Ingress for TLS:
# k8s/overlays/production/ingress-patch.yaml
apiVersion: networking.k8s.io/v1
kind: Ingress
metadata:
  name: saas-project-ingress
  annotations:
    cert-manager.io/cluster-issuer: letsencrypt-prod
spec:
  tls:
    - hosts:
        - saas-project.com
      secretName: saas-project-tls
Done.
Your app now serves over HTTPS, with automatic renewals and zero downtime.
📊 Step 2: Monitoring & Observability
In the MVP phase, you’re probably using kubectl logs for debugging.
That’s fine, until you have multiple pods, environments, and users.
Production needs observability, the ability to see everything.
We’ll use Prometheus (metrics) and Grafana (dashboards).
Deploy the Monitoring Stack via ArgoCD:
# argocd/apps/monitoring.yaml
apiVersion: argoproj.io/v1alpha1
kind: Application
metadata:
  name: kube-prometheus-stack
  namespace: argocd
spec:
  project: default
  source:
    repoURL: https://prometheus-community.github.io/helm-charts
    chart: kube-prometheus-stack
    targetRevision: 61.2.0
    helm:
      values: |
        grafana:
          admin:
          existingSecret: grafana-admin
          ingress:
            enabled: true
            ingressClassName: traefik
            hosts:
              - grafana.saas-project.com
  destination:
    server: https://kubernetes.default.svc
    namespace: monitoring
  syncPolicy:
    automated: {}
Once synced, you’ll have:
- Prometheus scraping pod metrics (
cpu,memory,restarts) - Grafana dashboards at
grafana.saas-project.com
You can now track:
- Requests per second
- Pod restarts
- Latency
- Error rates
⚙️ Step 3: High Availability
The MVP runs a single pod. It works, until it doesn’t.
In production, downtime isn’t an option. You need redundancy and resilience.
We’ll add three things:
- Horizontal Pod Autoscaler (HPA) → scales replicas based on CPU/memory/load
- PodDisruptionBudgets (PDBs) → guarantee a minimum number of pods stay running during updates
- Liveness/Readiness probes → Kubernetes knows when to restart or stop routing traffic
🔹 Horizontal Pod Autoscaler
# k8s/env/prod/hpa.yaml
apiVersion: autoscaling/v2
kind: HorizontalPodAutoscaler
metadata:
  name: saas-frontend
spec:
  scaleTargetRef:
    apiVersion: apps/v1
    kind: Deployment
    name: saas-frontend
  minReplicas: 2
  maxReplicas: 6
  metrics:
  - type: Resource
    resource:
      name: cpu
      target:
        type: Utilization
        averageUtilization: 70
🔹 Pod Disruption Budget
# k8s/env/prod/pdb.yaml
apiVersion: policy/v1
kind: PodDisruptionBudget
metadata:
  name: saas-frontend-pdb
spec:
  minAvailable: 1
  selector:
    matchLabels:
      app: saas-frontend
🔹 Add Probes to Deployment
# k8s/env/prod/deployment-patch.yaml
spec:
  template:
    spec:
      containers:
      - name: frontend
        livenessProbe:
          httpGet:
            path: /health
            port: 8080
          initialDelaySeconds: 10
          periodSeconds: 30
        readinessProbe:
          httpGet:
            path: /health
            port: 8080
          initialDelaySeconds: 5
          periodSeconds: 15
Now Kubernetes knows when to scale up, when to restart, and when to stop routing traffic to a pod that isn’t ready.
🧩 Step 4: Secrets Management (External Secrets Operator)
Rule #1: never store raw secrets in Git.
Not even for five minutes.
That .env file you pushed by accident? It’s already cached in history, cloned by bots, and indexed forever.
So let’s fix that the right way.
You’ve got two clean, production-grade options.
Option A: External Secrets Operator (ESO) 🪄
This is the cloud-native way.
Your app never sees plaintext keys, Kubernetes fetches them automatically from your cloud’s Secret Manager and injects them at runtime.
Deploy ESO via ArgoCD (GitOps-style):
# argocd/apps/external-secrets.yaml
apiVersion: argoproj.io/v1alpha1
kind: Application
metadata: { name: external-secrets, namespace: argocd }
spec:
  source:
    repoURL: https://charts.external-secrets.io
    chart: external-secrets
    targetRevision: 0.10.5
  destination:
    namespace: external-secrets
    server: https://kubernetes.default.svc
  syncPolicy: { automated: {} }
Then define where your secrets live:
apiVersion: external-secrets.io/v1beta1
kind: ExternalSecret
metadata:
  name: roomio-db-credentials
spec:
  refreshInterval: 1h
  secretStoreRef:
    name: aws-secretsmanager
    kind: SecretStore
  target:
    name: db-credentials
  data:
    - secretKey: DATABASE_URL
      remoteRef:
        key: prod/db-url
✅ Kubernetes now syncs secrets automatically from:
- AWS Secrets Manager
- GCP Secret Manager
- HashiCorp Vault
- Azure Key Vault
Your manifests stay clean.
Your keys never touch Git.
And ArgoCD still manages everything declaratively.
Option B: SOPS + Git Encryption 🔐
If you prefer keeping secrets inside Git but still secure, use Mozilla SOPS.
It encrypts only the sensitive parts of your YAML (using your GPG keys or cloud KMS), so you can safely commit the encrypted file.
Example:
sops --encrypt secrets.yaml > secrets.enc.yaml
ArgoCD can then decrypt them automatically at deploy time, no humans, no copy-paste keys.
Final Recap
Most teams try to jump straight into Kubernetes and drown in YAML.
The trick isn’t to do everything, it’s to evolve one layer at a time:
- Docker to make it work
- Kustomize to make it scale
- GitOps to keep it consistent
- Hardening to make it reliable
Each layer turns chaos into structure.
Add security, observability, and clear environments, and suddenly you’re not just deploying an app, you’re building a system you can trust.
Start small. Evolve fast.
That’s how your MVP becomes a real SaaS.
💡 Want more hands‑on tips about Kubernetes, Cloud, and DevOps?
👉 Follow me here on Medium and let’s connect on LinkedIn!